
- Gintaré Turskyté
- Editor
- Send me an e-mail
Photographing the Northern Lights in Tromsø can be surprisingly achievable, even if you are new to night photography. With a camera that allows manual settings, a wide-angle lens, a sturdy tripod and a basic understanding of aperture, shutter speed and ISO, you can capture beautiful images of the aurora.
Tromsø sits within the auroral oval, making Northern Norway one of the best places in the world to see and photograph the Northern Lights. But getting a good photo is not only about luck and location. You also need clear skies, the right equipment and camera settings that match how quickly the aurora is moving.
In this guide, we’ll cover when and where to photograph the Northern Lights around Tromsø, what equipment to bring, recommended camera settings, composition, common mistakes and how to edit your photos afterwards.
When Can You See the Northern Lights in Tromsø?
Before you start worrying about camera settings, you need to answer a more basic question: where and when do you have the best chance of seeing the lights at all.
The northern lights (aurora borealis in the northern hemisphere, aurora australis in the southern) occur when charged particles from the solar wind collide with Earth’s atmosphere in the regions around the magnetic poles. That’s why they’re best seen within the so called auroral oval, the band that circles the northern or southern pole. Popular destinations include northern Norway (Tromsø, the Lofoten Islands), Iceland, Swedish and Finnish Lapland, northern Canada, and Alaska.
In Tromsø, the Northern Lights season generally runs from September to early April, when the nights are dark enough to see the aurora. Your best odds tend to fall around the autumn and spring equinoxes, when geomagnetic activity is statistically higher. Keep an eye on aurora forecasts and geomagnetic activity, but don’t rely on the Kp index alone. Tromsø lies within the auroral oval, so the Northern Lights can appear even when the Kp index is relatively low. Cloud cover is often just as important as aurora activity, so always check the local weather forecast as well.
A clear sky and minimal light pollution matter just as much. Even the strongest aurora will be lost behind thick clouds or in the glow of a city. So always check the weather forecast and head away from lit up areas.
Where to photograph the northern lights near Tromsø
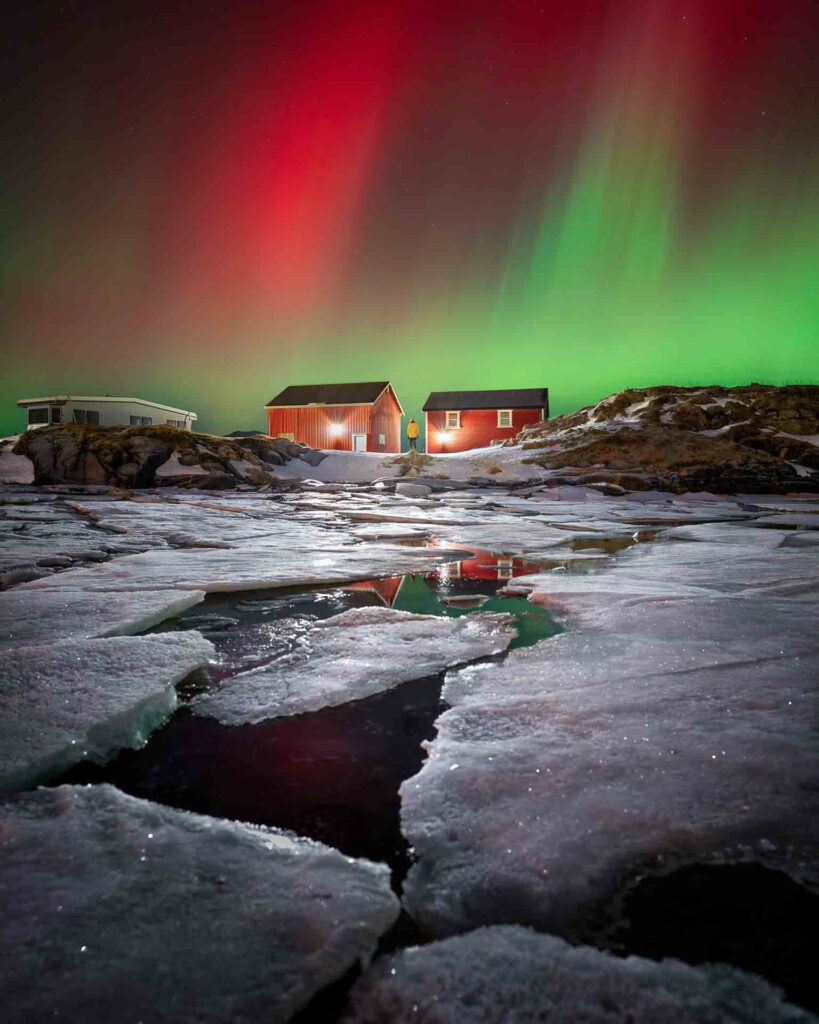
If you’re based in or visiting Tromsø, you don’t need to travel far to escape the city lights. A few reliably good spots:
- Ersfjord and Ersfjordbotn — a short drive from the city center, with open views across the fjord and mountains as a natural foreground.
- Tromvik — further out on Kvaløya island, quieter and darker, popular with photographers chasing minimal light pollution.
- Sommarøy — a small fishing village with dramatic coastline, good for aurora reflections over water on calm nights.
- Grøtfjord — another Kvaløya spot, less crowded, with open sky and mountain silhouettes.
Wherever you go, always check road conditions in winter, and let someone know your plans if you’re heading out alone late at night. Kvaløya is particularly popular for Northern Lights photography because its fjords, mountains and beaches provide plenty of natural foregrounds while allowing you to escape much of Tromsø’s city light.
What Camera Gear Do You Need for Northern Lights Photography?
The good news is that photographing the northern lights doesn’t require extremely expensive equipment, but a few items are close to essential.
Camera. Ideally a DSLR or mirrorless camera with manual mode (M). What matters most is the camera’s ability to handle higher ISO values with as little noise as possible. Most modern cameras with a larger sensor (APS-C or full frame) will perform quite well. You can also shoot with some newer smartphones using night mode, but results from a dedicated camera will always be higher quality.
Lens. A wide-angle lens (ideally 14 to 24mm on full frame, or the equivalent on a crop sensor) with a large maximum aperture (f/2.8 or wider) is one of the most useful pieces of equipment for Northern Lights photography. The wider the aperture, the more light you capture in less time, which is crucial for a moving aurora.
Tripod. An absolute necessity. Long exposure times mean that even the smallest camera movement will blur your shot. Choose a tripod that’s sturdy yet still portable, you’ll be carrying it around in the cold, often through snow and wind.
Spare batteries. Cold weather significantly shortens battery life. Bring at least two or three extras and keep them in an inner pocket close to your body so they stay warm.
Remote shutter release or self timer. To avoid blur caused by pressing the shutter button by hand, use either a wired or wireless remote, or at least your camera’s 2 second self timer.
Headlamp with a red light. This helps you see in the dark without blinding yourself or other photographers around you, and it won’t throw off your exposure settings.
Warm clothing. This isn’t about photography directly, but standing with a tripod for hours in freezing northern winters calls for quality thermal layers, warm gloves (ideally ones that still let you operate your camera), and warm footwear.
Best Camera Settings for Northern Lights Photography
For a typical Northern Lights display, start with these settings:
- Mode: Manual
- Aperture: f/2.8 or wider
- Shutter speed: around 5 seconds
- ISO: 1600–3200
- Focus: Manual, focused on a distant light or star
- White balance: 3000–4000K
- File format: RAW
Use these settings as a starting point and adjust your shutter speed and ISO depending on how bright and fast the aurora is moving.
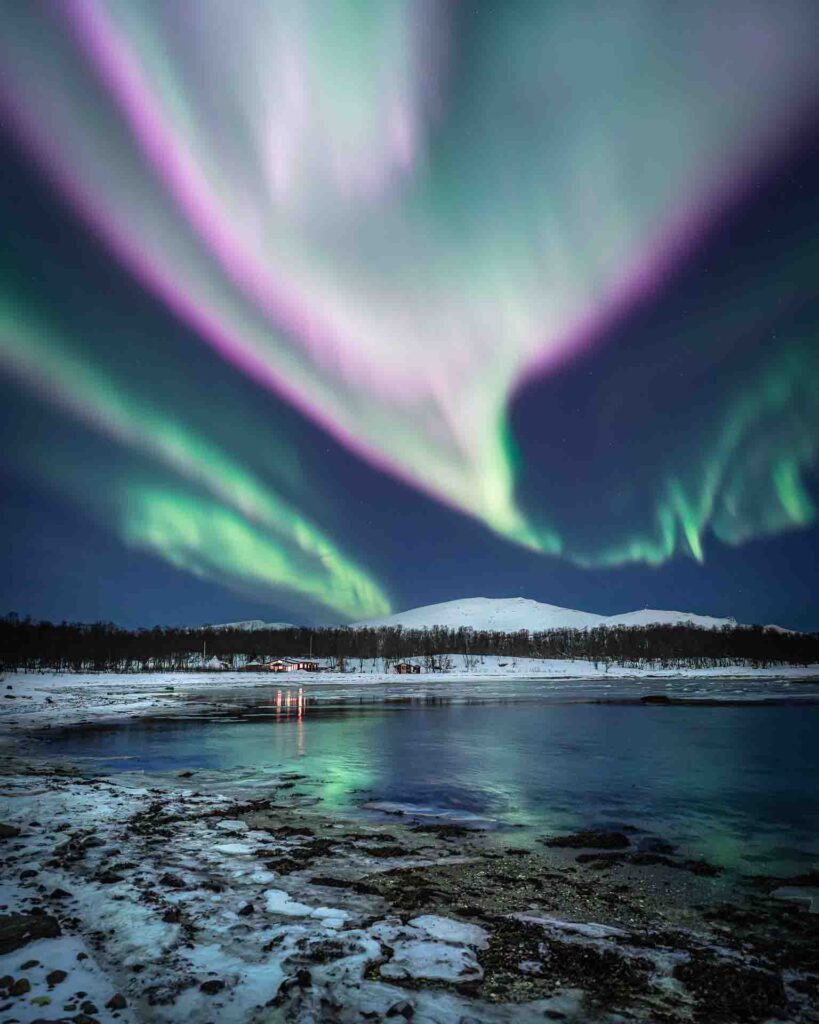
This is the part that interests most beginners the most, and the good news is that the fundamentals can be summed up in a handful of simple rules.
Mode: Switch your camera to manual mode (M). Automatic modes can’t cope with a dark sky and moving light.
Aperture: Set the lowest possible f-number your lens offers, so f/2.8, f/2.0, or lower if you have it. The more light you let in, the better.
Shutter speed: This is the most critical setting of all. If the aurora is slow and faint, you can use a longer exposure, say 8 to 15 seconds. If it’s fast, intense, and rippling, you need a shorter time, around 2 to 5 seconds, otherwise its structure will blur into a shapeless haze. A good starting point is 5 seconds, which you then adjust based on what you see on your screen.
ISO: Start around 1600 to 3200 and adjust based on the brightness of the scene and the noise your camera produces. Newer cameras can handle ISO 6400 with acceptable noise, while older models are better kept lower.
Focus: Autofocus generally fails in the dark. Switch to manual focus and focus on a distant light or bright star using live view. Infinity can be a useful starting point, but don’t simply turn the focus ring as far as it will go, as this may leave some lenses slightly out of focus. Some lenses have an infinity mark on the barrel you can use as a reference point, but always double check it on location. The most reliable way to confirm focus is to zoom in on stars on your screen in live view: if they’re properly focused, they’ll appear as the smallest, sharpest points possible. If they look blurry or like larger smudges of light, adjust the focus further.
White balance: Set it manually to around 3000 to 4000K. Auto white balance can distort the aurora’s colors, often pushing them toward an unnatural blue or yellow tint. Since you’re shooting in RAW anyway, you can always fine tune the white balance later during editing.
File format: Always shoot in RAW. It gives you far more room to work with during post processing, especially when it comes to shadows, highlights, and colors, all of which matter a great deal in night photography.
Composition and creative choices
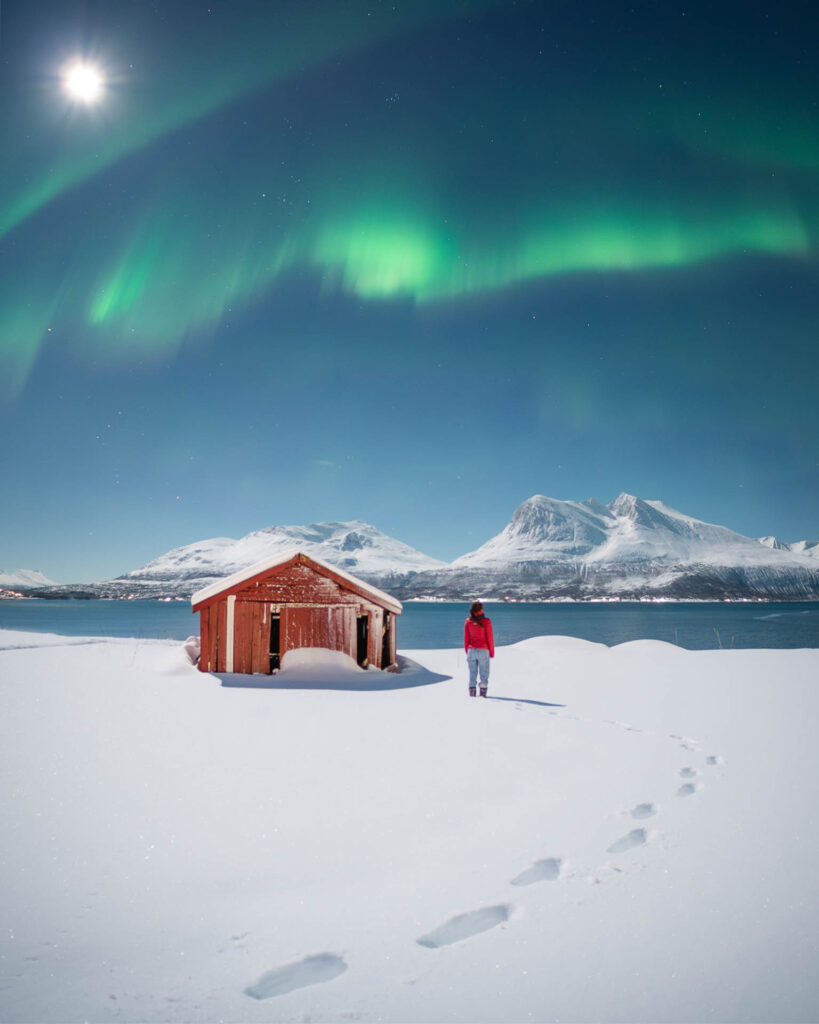
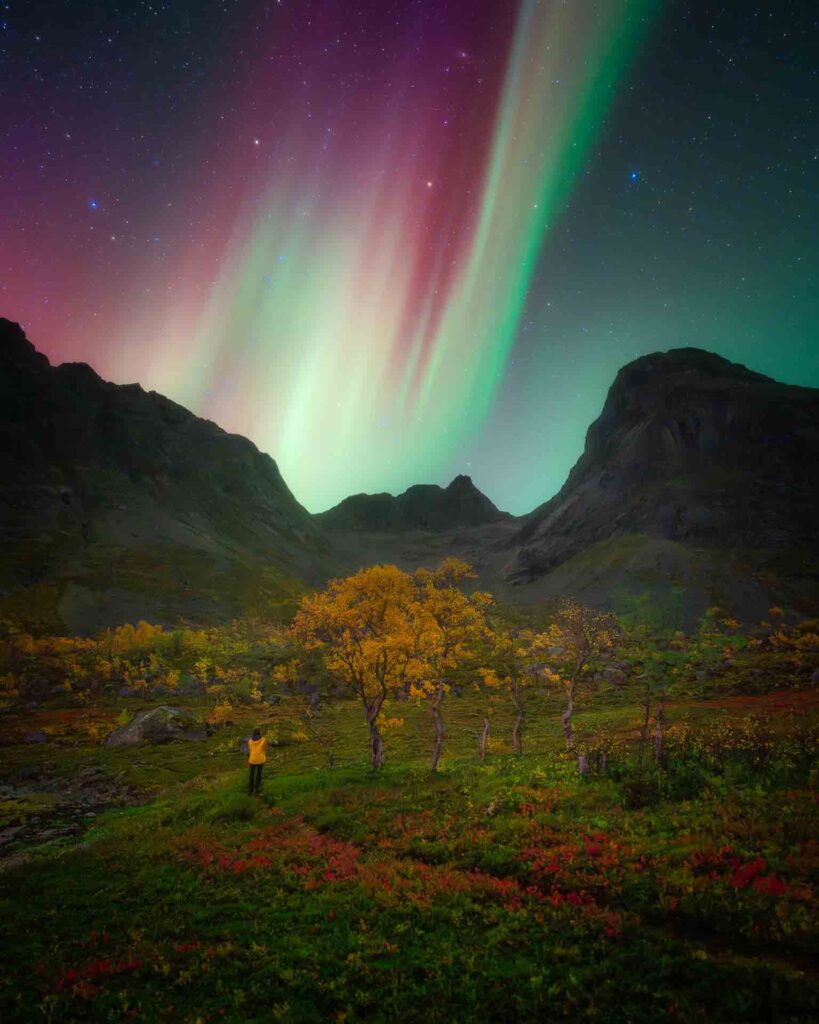
A technically perfect aurora photo without an interesting composition often feels flat. Try to include a foreground element in your frame, such as a lone tree, a mountain peak, a lake with a reflection, a cabin, or a person’s silhouette. An element like this gives the photo scale and a story, rather than leaving it as just an abstract sky full of color.
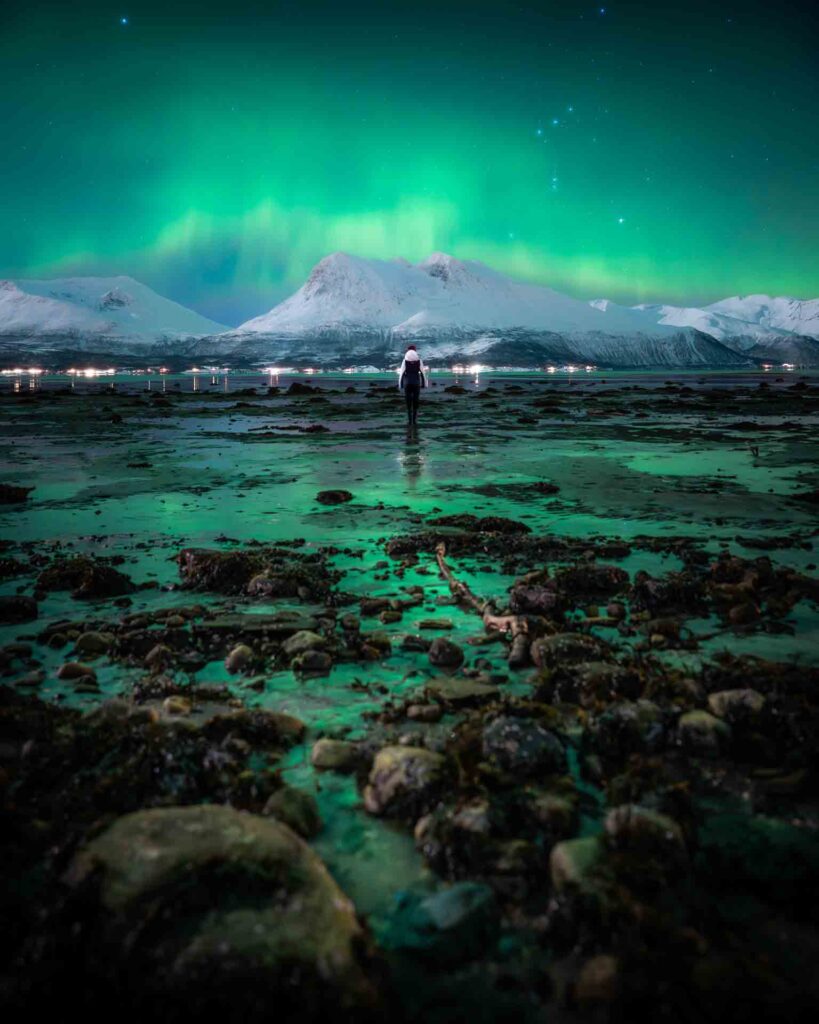
Think about the rule of thirds too: don’t always place the horizon dead center in the frame. If the aurora is especially intense, you can push the horizon lower and give the sky more room. If the landscape is the more compelling part of the scene, split the frame the other way.
Water can produce stunning reflections of the aurora, so it’s worth seeking out lakes or calm fjords. Snowy scenes are equally striking, as snow reflects the aurora’s light and adds a subtle color cast to the whole scene.
Common Northern Lights Photography Mistakes
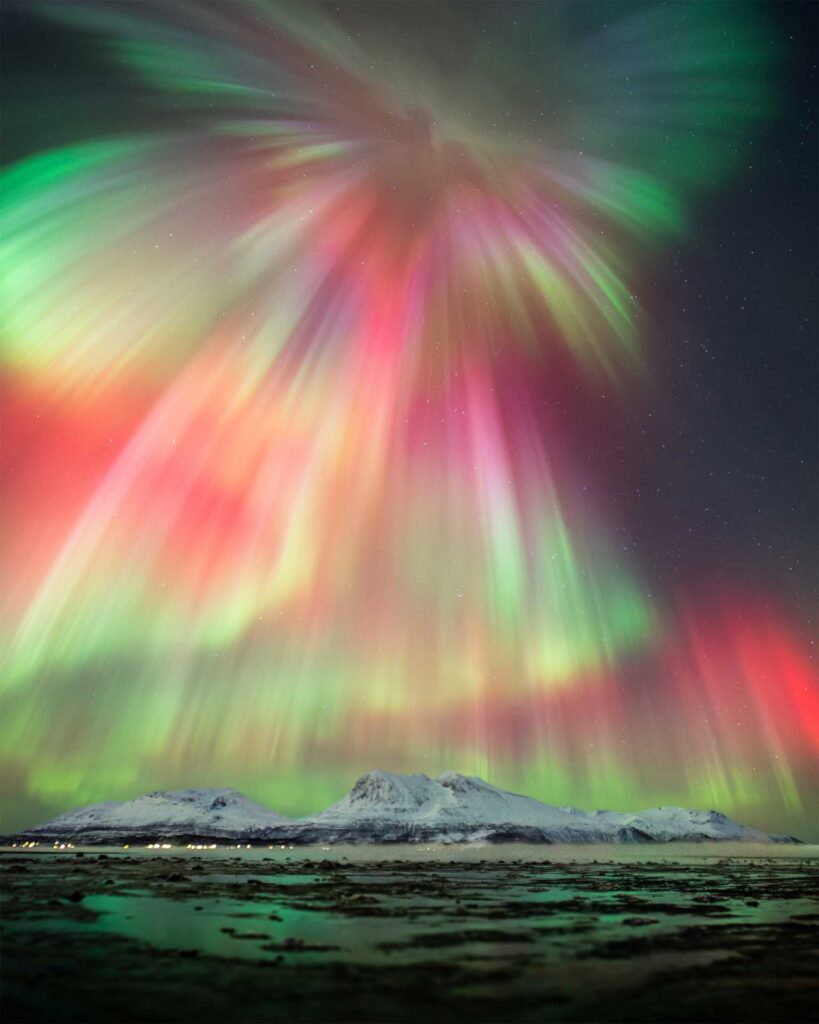
One of the most common beginner mistakes is using too long an exposure for a fast changing aurora, which causes a loss of detail and structure in the final image. Another frequent mistake is forgetting to manually focus: photographers often assume they’re in focus, only to discover once home that the entire series is slightly soft. It helps to check sharpness regularly by zooming in on your camera’s screen while shooting.
Underestimating the cold is another classic problem. Batteries dying within minutes, fingers too frozen to operate buttons, or a fogged up viewfinder after stepping out of a warm car, all of this can be avoided with good preparation and patience.
Finally, many people spend so much time behind the camera that they forget to actually enjoy the aurora with their own eyes. Take the time to get a few shots, then step away from the viewfinder for a while and simply watch the sky and let yourself take in this extraordinary experience.
How to Edit Northern Lights Photos
Once you’re back from the field, post processing comes next. In programs like Lightroom or Capture One, you can fine tune the white balance, boost contrast between the sky and the landscape, and gently reduce noise from higher ISO values. It’s important not to overdo the saturation, natural shades of green and purple look far more convincing than artificially exaggerated colors. It’s also worth working with curves and local adjustments to bring out the aurora’s structure without making the image look unnatural.
Ready to Photograph the Northern Lights in Tromsø?
Photographing the northern lights is a mix of patience, technical preparation, and a bit of luck with the weather. Follow geomagnetic activity forecasts, choose a location with dark skies, pack the right gear, and don’t forget warm clothing. With the right camera settings, meaning a wide aperture, a short to medium exposure, and manual focus set to infinity, you’ll have everything you need to bring home photos that will remind you of one of the most beautiful sights nature has to offer. And even if your first attempt doesn’t turn out perfectly, every night spent under the stars brings you closer to that perfect shot.
But no matter how good your gear is or how precise your settings are, don’t forget that the northern lights are, above all, an experience meant to be enjoyed with your own eyes. Allow yourself to set the camera down for a moment, tilt your head back, and simply watch the light ripple across the sky. Photographs make for a beautiful memory, but nothing replaces the feeling of standing beneath the aurora in person.
And if you’d rather spend that magical moment with a team of huskies by your side instead of standing alone in the cold, join us for one of our evening tours — there’s nothing quite like watching the aurora dance above you while surrounded by the quiet company of sled dogs who call this Arctic sky home.
About the contributor
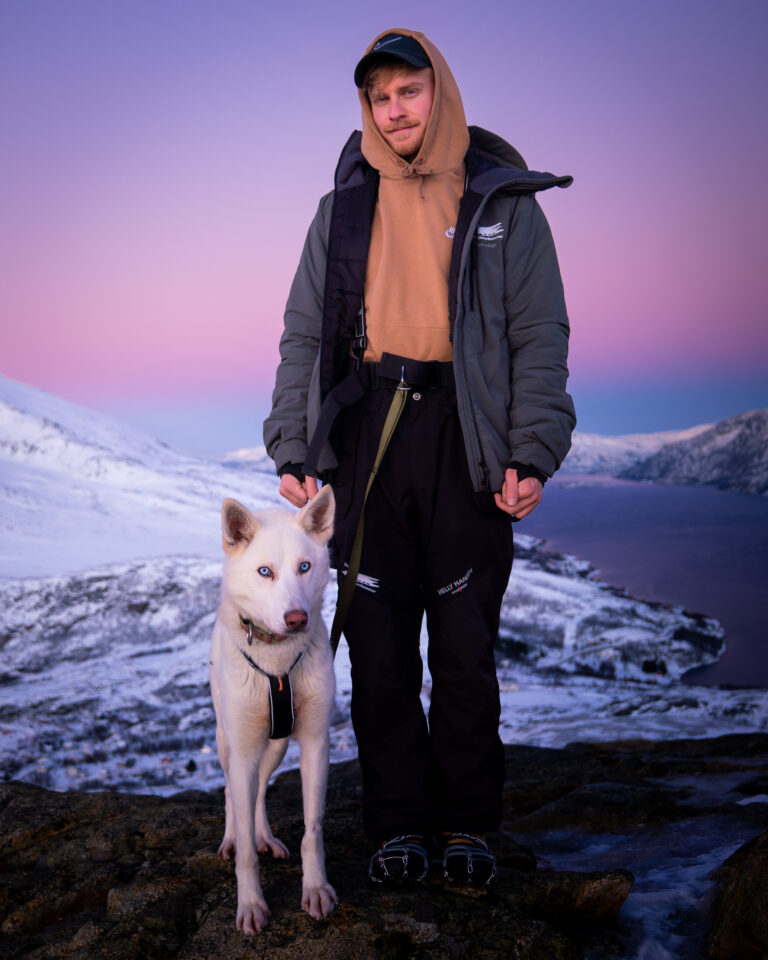
Slavomír Žáň is a Northern Lights guide and photographer at Tromsø Villmarkssenter. He wrote this guide and provided all photographs featured in the article.